
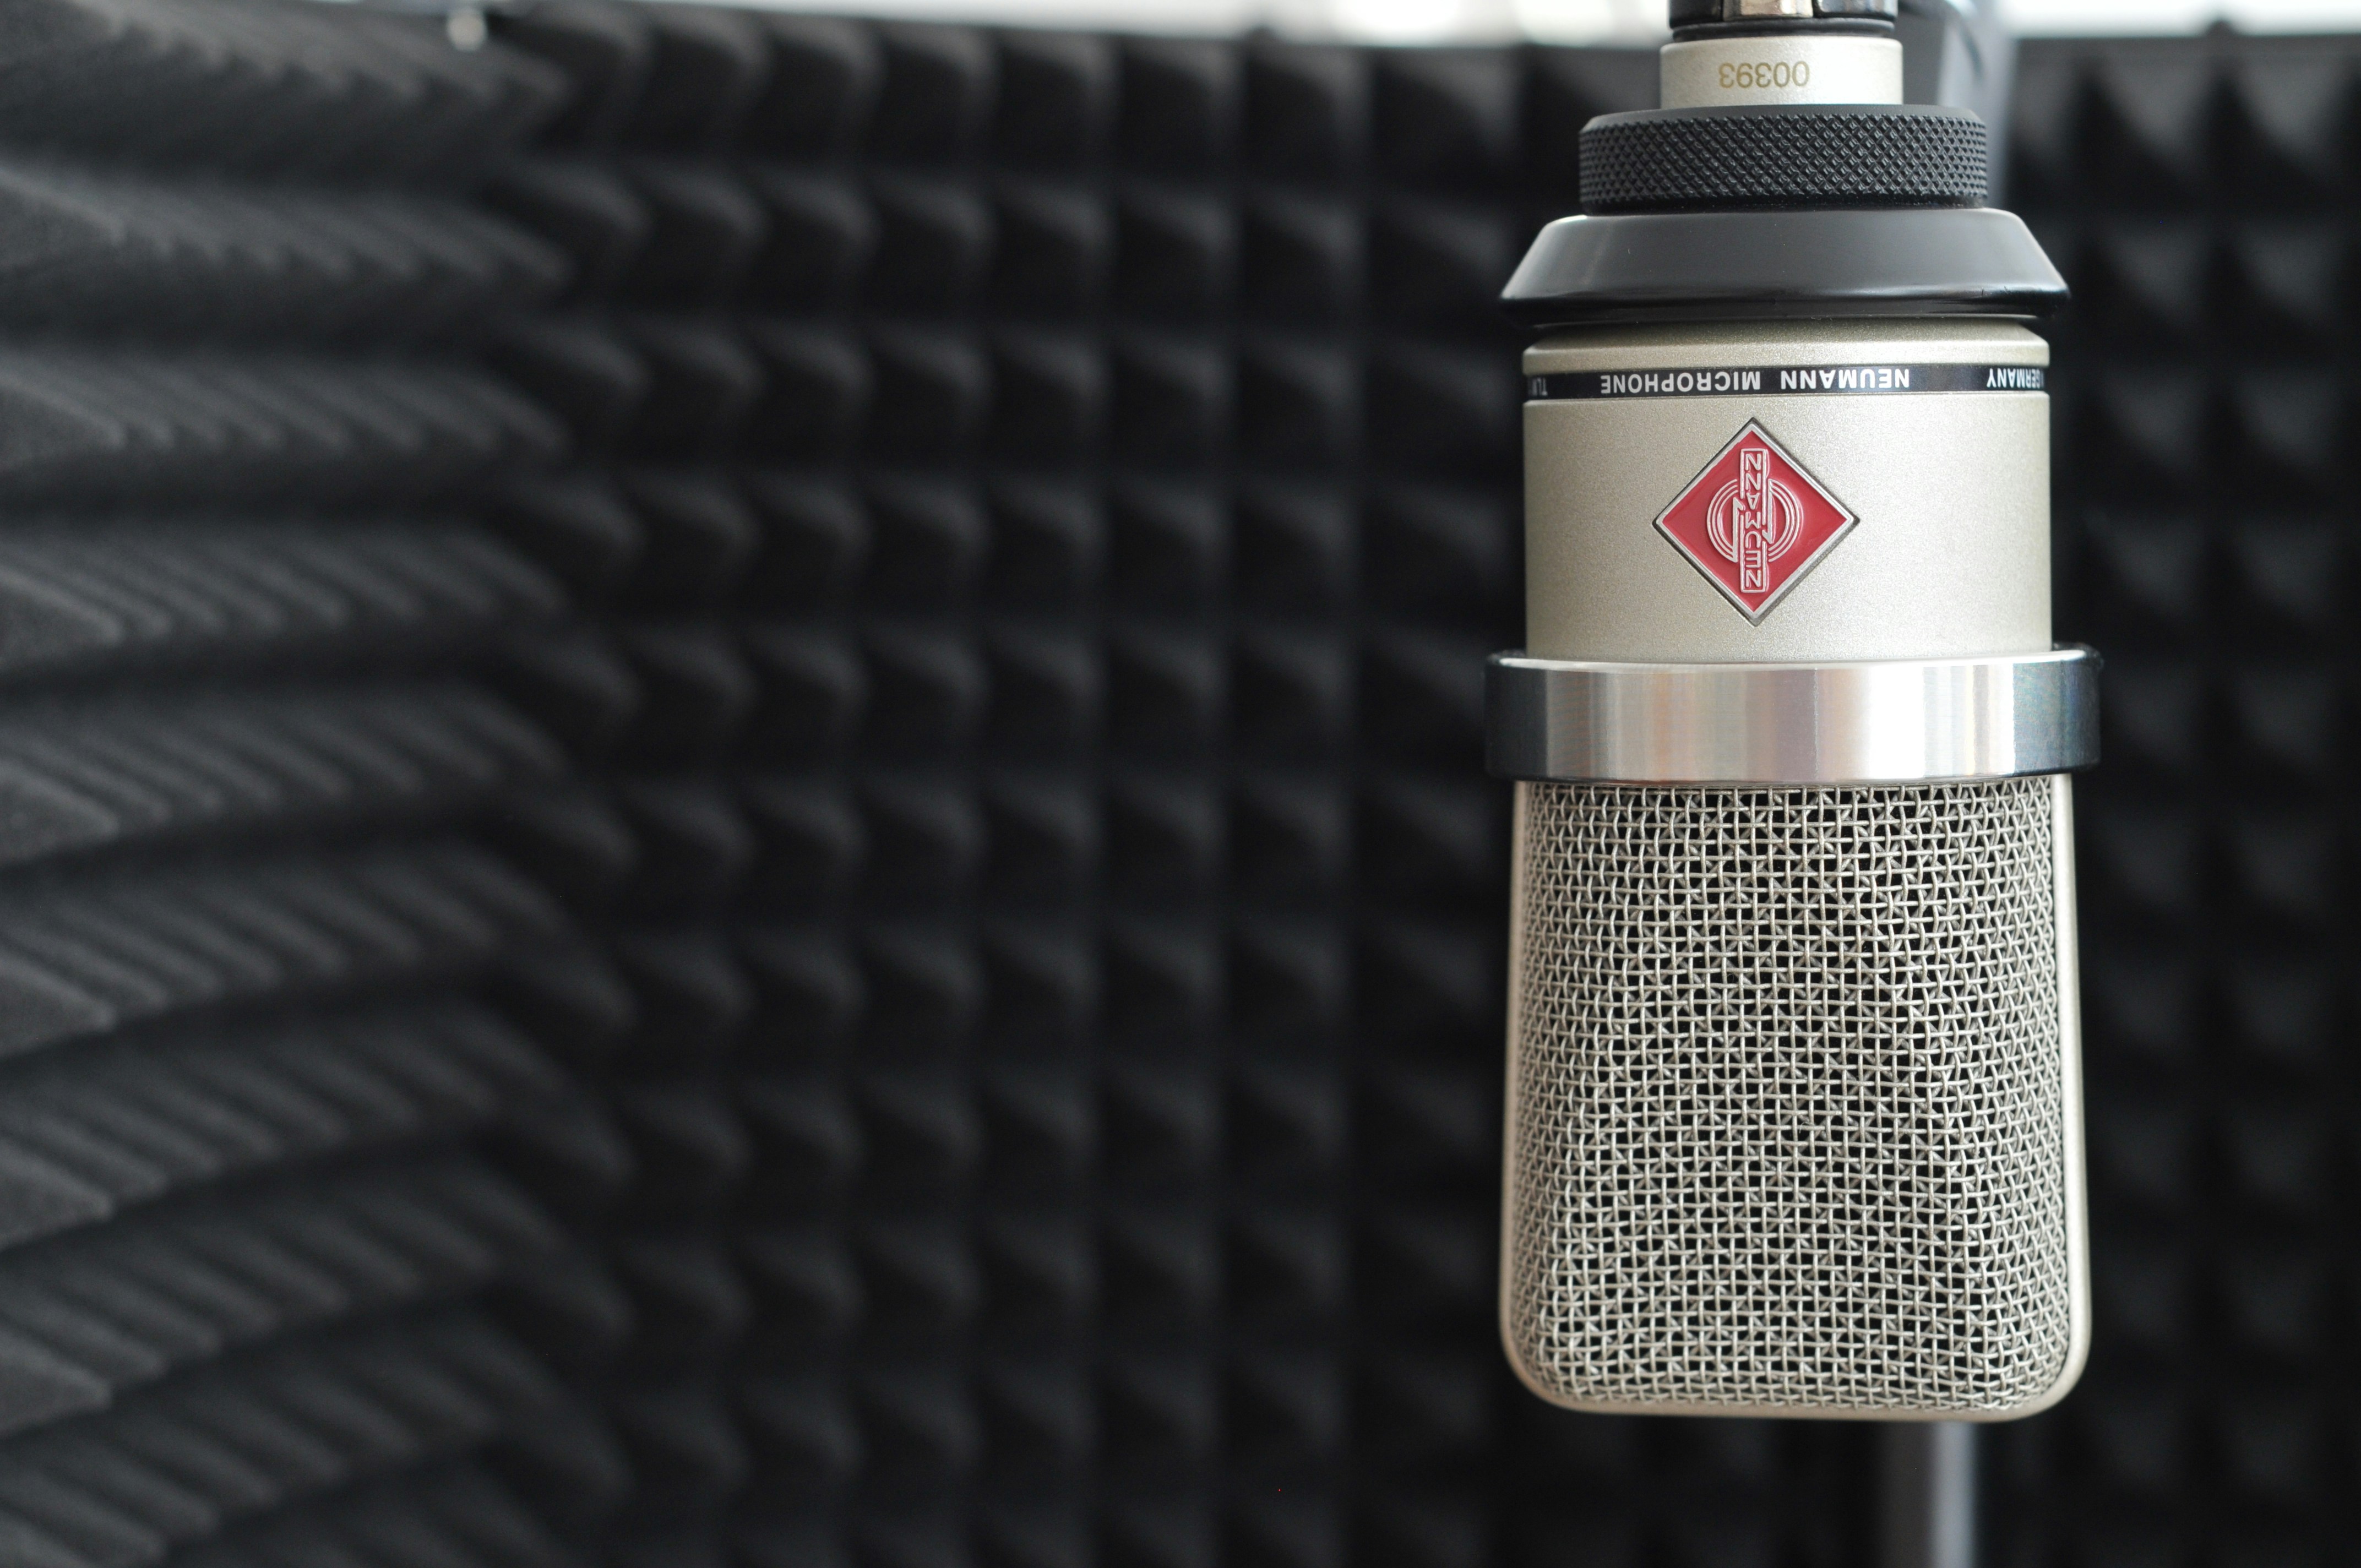


You don’t need an expensive audio interface or a multi-hundred-dollar studio setup to record clean, broadcast-ready sound. Achieving professional results on a budget comes down to two fundamentals: picking the right microphone capsule and controlling your recording environment.
1. Choosing the Right Microphone Type
Understanding how audio gear connects and captures sound helps you avoid spending money on the wrong equipment.
- USB vs. XLR Connections:
- USB Microphones: Plug directly into your computer via USB-C or USB-A. They are plug-and-play, cost-effective, and ideal for solo streamers, gamers, and podcasters.
- XLR Microphones: Connect via a 3-pin balanced cable into an audio interface or mixer. They provide cleaner analog signal routing, physical gain controls, and easy hardware upgrades.
- Hybrid (USB/XLR): The best of both worlds. They plug straight into a PC today and connect to pro mixers later without buying a new mic.
- Dynamic vs. Condenser Capsules:
- Dynamic Microphones: Built with durable moving coils that handle high volume levels and naturally reject room echo, PC fans, and keyboard clatter. Ideal for untreated rooms.
- Condenser Microphones: Highly sensitive with wide frequency capture (20 Hz – 20 kHz). They capture airy vocal details and instruments, but require quiet, acoustically controlled spaces.
2. Managing Room Acoustics on a Budget
A $50 microphone in a well-managed room will always outperform a $500 microphone in an echoey space with bare walls and hardwood floors.
- The Quick Hand-Clap Test: Stand in your recording space and clap firmly. If you hear a sharp, ringing flutter echo, your microphone will pick up that hollow sound.
- DIY Sound Absorption:
- Lay thick area rugs or carpets over hardwood or tile floors.
- Hang heavy curtains or moving blankets over bare windows and reflective walls.
- Face an open closet full of clothes while recording voiceovers to create an instant, reflection-free vocal booth.
3. Top 5 Budget Friendly Microphones Under $100
| Microphone | Type | Connectivity | Best For | Standout Feature |
| Audio-Technica ATR2100x-USB | Dynamic | USB-C & XLR | Podcasting & voiceover | Versatile dual outputs & USB-C |
| Samson Q2U | Dynamic | USB & XLR | Beginner content creators | Complete starter kit with accessories |
| Shure MV5 | Condenser | USB & iOS Lightning | Mobile recording & travel | Compact build with DSP voice presets |
| Behringer XM8500 | Dynamic | XLR | Live performance & budget XLR | Indestructible build under $25 |
| MXL 990 | Condenser | XLR (+48V Phantom) | Studio vocals & instruments | Warm vintage tone & large diaphragm |
1. Audio-Technica ATR2100x-USB (Best Hybrid Dynamic)
The ATR2100x-USB delivers crisp speech clarity while ignoring background noise with its tight cardioid pattern. With digital USB-C and analog XLR connections, it works seamlessly whether plugged directly into a laptop or routed into a studio interface.
2. Samson Q2U (Best Starter Value)
A longtime creator favorite, the Samson Q2U provides smooth midrange vocal presence and zero-latency headphone monitoring. It comes packaged with a desktop stand, mic clip, windscreen, and both USB and XLR cables right in the box.
3. Shure MV5 (Best for Mobile & Travel)
The Shure MV5 packs studio-grade condenser fidelity into an ultra-portable tabletop footprint. Engineered for quick setups, it includes custom DSP presets for speech and singing, plugging directly into PCs, Macs, and iOS devices.
4. Behringer XM8500 (Best Ultra-Budget XLR)
Priced well under $30, the XM8500 dynamic vocal mic punches far above its weight class. It features a rugged steel mesh grille, an internal shock-mount system to tame handling noise, and high-output gain staging suited for live sound and budget podcasts.
5. MXL 990 (Best Entry Studio Condenser)
For creators with an audio interface and a quiet room, the MXL 990 offers classic large-diaphragm depth. It captures acoustic guitars and singing vocals with an airy top end and silky low-frequency response.
4. How to Get Studio-Quality Audio on a Budget
- Maintain the 3-to-6 Inch Rule: Dynamic microphones perform best when positioned 3 to 6 inches from your mouth. Speaking close to the capsule maximizes the rich proximity effect while keeping background noise low.
- Set Proper Gain Levels: Dial your input gain so your voice averages between -18 dB and -12 dB in your recording software. This leaves healthy headroom and prevents harsh digital clipping.
- Add a Pop Filter & Boom Arm: A basic dual-mesh pop filter blocks plosive air bursts (P and B sounds), while an adjustable boom arm keeps mechanical desk vibrations from rattling into your recordings.
Investing in a budget dynamic workhorse like the Samson Q2U or Audio-Technica ATR2100x-USB eliminates room noise issues from day one, giving you crisp, professional sound without draining your wallet.